


Ever wondered how to brighten your space uniquely?
Every year, thousands embark on DIY projects, seeking to add a personal touch to their homes.
This guide promises to light your way through the process, from selecting materials to the final safety check. With practical tips and creative insights, you'll transform a simple idea into a stunning reality.
Ready to illuminate your world with a lamp that's distinctly yours?
Let's jump in!
Required Materials
Lampshade
Choose the right material (such as metal, fabric, or glass) and shape to match your design vision.
Lamp base or pole
Choose wood, metal, or ceramic for stability and style. The choice between a base and a pole depends on your design preference and the intended use of the lamp.
Light Bulb
LED bulbs are recommended for their efficiency and longevity.
Electrical Wire
Select the appropriate length and safety standard for your wire.
Switch
Choose between a manual or foot switch based on the lamp design and user habits.
Plug
Ensure compatibility with the power outlets in your region.
Required Tools
Screwdriver
For assembling and securing parts.
Drill
To create holes in the base or pole for wiring and other components.
Wire Cutter and Stripper
For handling electrical wires and ensuring secure connections.
Safety Glasses
To protect your eyes from any flying debris.
Measuring Tape
To ensure all parts are accurately sized.
Level
To ensure the base or pole is perfectly vertical and stable.
Section 2: Preparing the Lamp Base
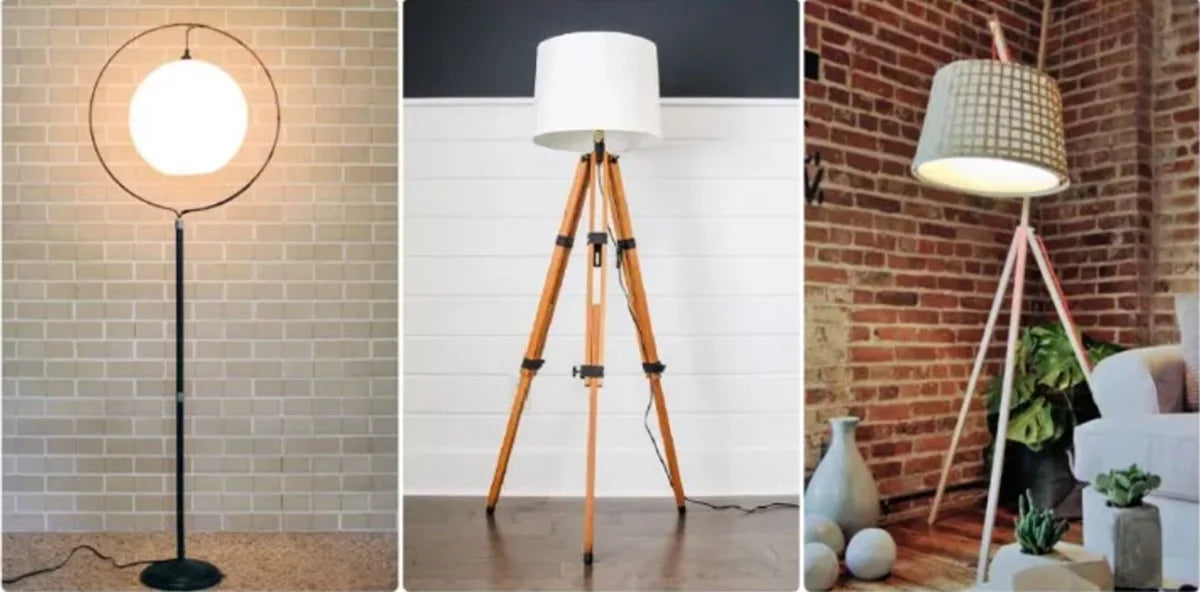
Selecting the Right Base Material and Design
Choosing the foundation for your floor lamp is like picking the right shoes for an outfit; it needs to be both functional and stylish. Here's a quick guide:
Wood: Brings warmth and a natural touch to any room. Ideal for rustic or Scandinavian decor. Just remember, wood varies in density and grain, much like the character in a good story.
Metal: Offers a sleek and modern look. Perfect for industrial or minimalist themes. Think of it as the knight in shining armor for your contemporary space.
Ceramic: Adds color and texture. A great pick for those who love a bit of whimsy in their decor. It's like the playful friend that always brightens the room.
Glass: Provides elegance and lightness. Best suited for modern and minimalist designs. It's the clear choice when you want to add a touch of sophistication.
When choosing, think about durability and how the material complements your room's vibe. It's like choosing a dance partner; the right match can create harmony.
Customizing Your Base
Now, let's get hands-on with shaping your lamp's foundation:
Measuring and Marking: First, decide on the dimensions. It's like sketching the outline of a masterpiece before painting.
Cutting/Shaping: If you're working with wood or metal, you might need to cut or shape your base. Approach this step with the precision of a chef slicing ingredients for a gourmet meal.
Drilling a Hole: Carefully drill a hole in the electrical cord. Imagine you're performing surgery; steadiness and accuracy are key.
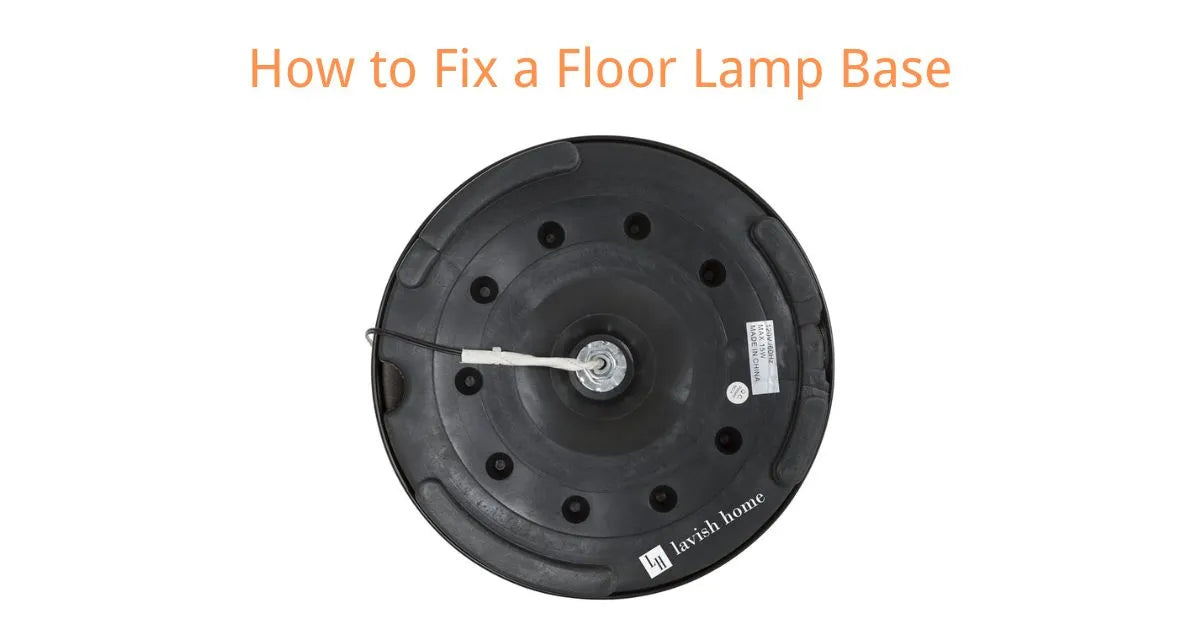
Ensuring Base Stability and Weight Distribution
Here are some strategies to keep your lamp firmly on the ground:
Weight Distribution: Think of your lamp base as a pair of feet. Just like a person, it needs a solid stance. Distribute weight evenly by choosing a base that's wide enough to counterbalance the height of the lamp.
Adding Weight: Sometimes, you need a little extra heft. Consider adding weight to the base. It's like putting on a weighted backpack for stability; only, in this case, it's hidden inside the base.
Non-Slip Pads: Stick non-slip pads under the base. They're like the soles of hiking boots, offering grip on slippery surfaces.
Section 3: Assembling the Electrical Components
Wiring the Light Socket: A Step-by-Step Guide
Wiring a light socket is like threading a needle; it requires concentration and a steady hand. Follow these steps to ensure a bright future for your lamp:
Safety First: Disconnect the power. It's like putting on a seatbelt before driving.
Stripping Wires: Carefully strip the insulation from the ends of your wires. Imagine you're peeling an apple; remove just enough skin without cutting into the fruit.
Connecting Wires: Attach the wire to the socket terminals. Think of it as matchmaking; the right wire goes to the right terminal.
Securing the Connection: Tighten the screws to secure the wires. It's like tying a strong knot; it needs to hold tight.
Attaching and Securing the Electrical Cord
The electrical cord is the lifeline of your lamp, providing it with the energy it needs to shine. Here's how to attach it securely:
Stripping the Cord: Gently strip the outer insulation to reveal the wires inside. Picture yourself unwrapping a gift, taking care not to damage what's inside.
Twist and Connect: Twist the exposed wires around the corresponding terminals on the socket. It's like braiding hair; each strand needs to intertwine perfectly.
Secure the Connection: Ensure the wires are tightly screwed in. This step is like double-knotting your shoelaces before a run; it prevents unexpected accidents.
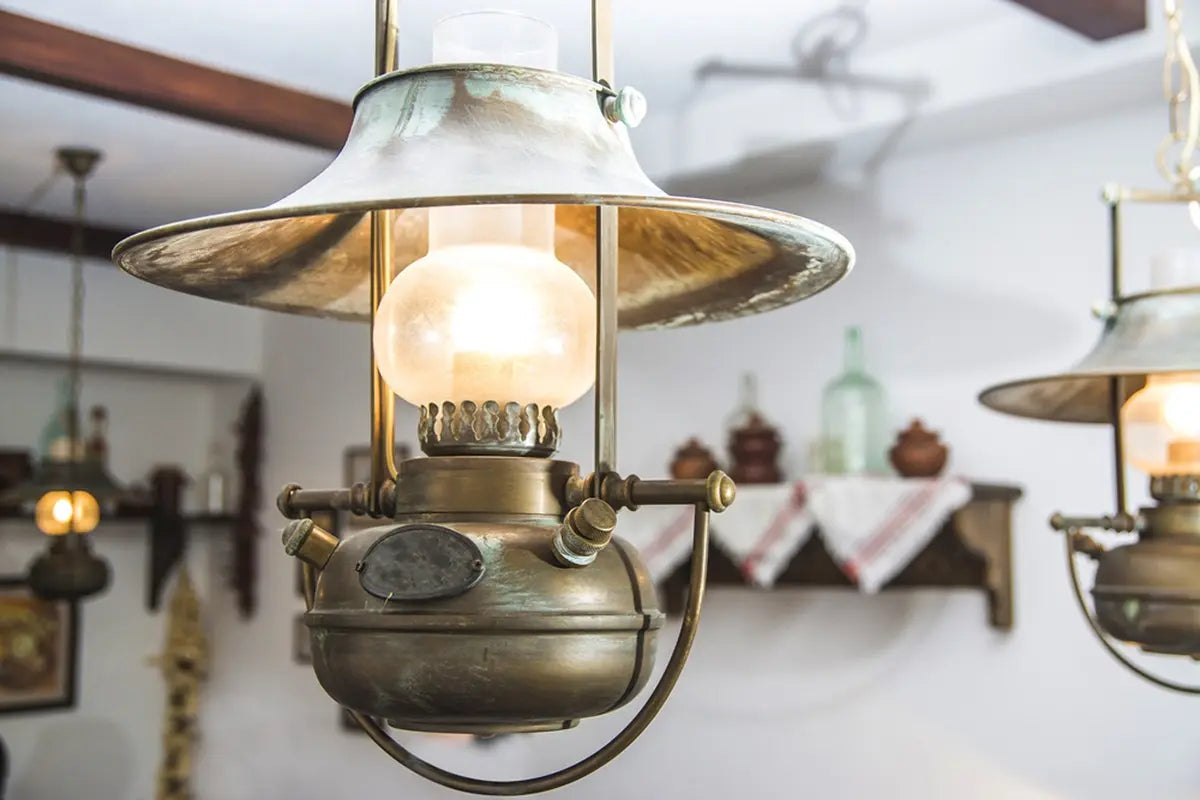
Section 4: Attaching the Lampshade
Selecting the Perfect Lampshade
Choosing the right lampshade is like picking the perfect hat; it needs to fit well, complement your style, and serve its purpose.
Size Matters: The shade should balance the lamp base. A rule of thumb is for the shade to be about two-thirds the height of the base. It's like finding the right-sized lid for your pot.
Style and Material: Choose a color that goes well with the room's style and material. You can choose metal for a modern look or fabric for a cozy vibe. Think of it as the cherry on top of your design sundae.
Functionality: Consider the lamp's purpose. Is it for reading, ambiance, or decoration? The material and openness of the shade will affect the light's quality, much like sunglasses filter sunlight.
Lampshade Attachment Techniques
Attaching the lampshade is the final step in bringing your lamp to life. Here are two common methods:
Direct Attachment: This method involves screwing the shade directly onto the lamp base or socket. It's straightforward, like putting a cap on a pen.
Using a Harp and Finial: A harp is a metal frame that surrounds a light bulb. A final screw on top of the harp to secure the lampshade in place. It's a bit like assembling a sandwich; everything needs to be stacked neatly and securely.
Creative Ideas for Customizing or Decorating the Lampshade
Now for the fun part—making your lampshade truly yours:
Painting: Unleash your inner artist. A bit of paint can transform a plain shade into a masterpiece. It's like giving your lamp a new outfit.
Fabric and Ribbon: Wrapping or gluing fabric and ribbon around the shade can add texture and color. Think of it as accessorizing your lamp.
Stencils and Decals: Use stencils or decals for precise designs or patterns. It's a way to tattoo your lampshade without the commitment.
Section 5: Adding the Finishing Touches
Personalizing the Lamp Base
Giving your lamp base a personal touch is like signing your name on a masterpiece; it's the final flourish that says, "I made this."
Painting: Grab a brush and let your creativity flow. Whether it's a splash of color or a detailed design, painting your base can transform it from plain to eye-catching. It's like giving your lamp a new skin.
Decorating: Consider using decals, stencils, or even attaching objects that match your decor theme. It's akin to accessorizing your favorite outfit.
Adding Stability Features: Stick felt pads on the bottom of the base. Not only do they protect your floors, but they also add a layer of stability. Think of them as the unsung heroes that keep your lamp firmly in place.
Final Assembly and Safety Inspection
Now, it's time to bring all the pieces together and ensure everything is shipshape.
Secure All Parts: Go over each component and tighten any loose connections. It's like making sure all the bolts on a rollercoaster are tight; safety is paramount.
Electrical Safety Check: Double-check your electrical work. Ensure wires are properly insulated and connections are secure. It's the equivalent of checking the brakes on your car; you want a smooth ride, no surprises.
Stability Test: Give your lamp a gentle nudge to ensure it doesn't tip over easily. It should stand as steadfast as a lighthouse against the ocean waves.
Section 6: Testing and Troubleshooting
Safe Testing Procedures
Testing your lamp safely is like the final rehearsal before a big show; it ensures a stellar performance.
Check the Setup: Before plugging in, make sure your lamp is on a stable surface and the area is dry. It's akin to checking the weather before a picnic.
Use the Right Bulb: Confirm that the bulb matches the lamp's specifications. It's like making sure your shoes fit before a marathon.
Plug and Test: With everything in place, plug in your lamp and turn it on. It should light up your room like the first rays of dawn.
Troubleshooting Common Issues
Even the best plans can encounter hiccups. Here are solutions to some common lamp-making challenges:
Bulb Issues: If the bulb doesn't light up, first ensure it's properly screwed in. If it still doesn't work, try a new bulb. It's like changing the batteries in a remote.
Loose Connections: Flickering or no light might mean a loose wire. Unplug the lamp and check all connections. Tightening a loose wire is like fastening a loose button; it secures everything in place.
Stability Concerns: If your lamp wobbles, check the base for unevenness and add felt pads or adjust as necessary. It's like adjusting a wobbly table at a café.
Before you go...
Creating your DIY floor lamp is just the initial step. A well-made floor lamp won't work well if it's not placed correctly in your living room. To ensure your floor lamp enhances your room's ambiance and functionality, you won't want to miss this article.
15 Different Ways to Place Floor Lamps in Your Living Room
If crafting your own lamp seems daunting, you can always choose to buy floor lamp that meets your style and functional needs.
Related articles
How to Make a Floor Lamp Taller [13 Different Ways]


Leave a comment
All comments are moderated before being published.
This site is protected by hCaptcha and the hCaptcha Privacy Policy and Terms of Service apply.