


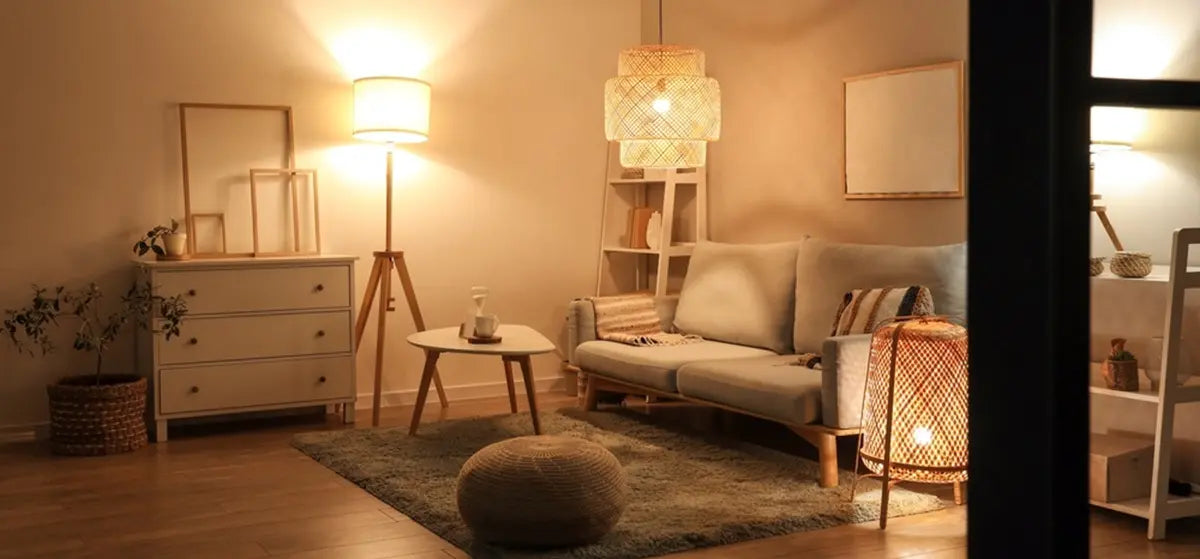
Revamping your old floor lamp can transform it into a striking piece of home decor.
This blog guides you through the essential steps to paint a floor lamp, ensuring a professional finish.
We'll cover everything from selecting the right materials to the actual painting process.
Follow these straightforward tips to give your lamp—and your room—a fresh, new look.
Preparing to Paint Your Floor Lamp
Materials Needed
To start your floor lamp painting project, gather the following essentials:
- Sandpaper to smooth the surface.
- A high-quality primer to prepare the lamp for painting.
- Paint—choose a color that fits your decor.
- Brushes or a roller to apply the paint evenly.
Safety Precautions
Safety is crucial when undertaking any DIY painting project. Follow these guidelines:
- Ensure the area is well-ventilated to avoid inhaling fumes.
- Wear protective gear such as gloves, masks, and goggles.
- Keep a clean workspace to prevent accidents.
How to Paint a Metal Floor Lamp
Cleaning and Sanding
Begin by thoroughly cleaning your metal floor lamp to remove any dust, dirt, or grease. Use a mild detergent and a soft cloth to avoid scratching the surface. Once clean, sand the lamp with fine-grit sandpaper to create a surface that helps the primer adhere better. Wipe the lamp down with a tack cloth to remove any sanding residue.
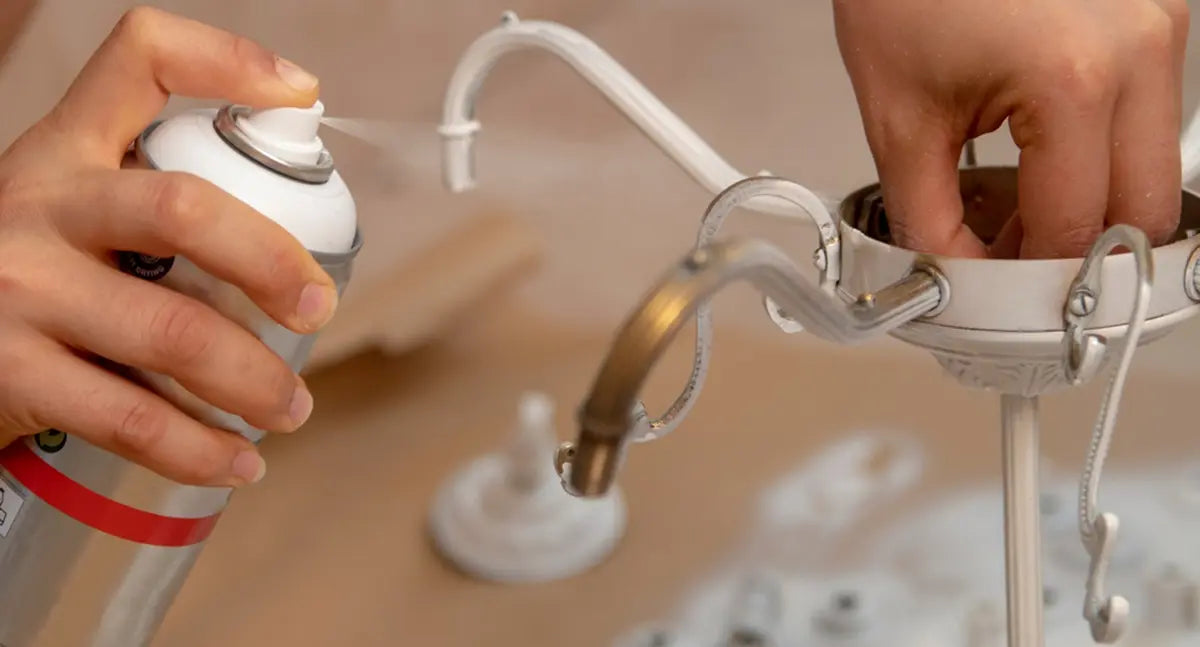
Applying Primer
Choose a primer that is specifically formulated for metal surfaces to ensure the best adherence and rust prevention. Apply the primer evenly using a clean brush or a spray can, depending on your preference for application. Allow the primer to dry completely, typically for at least an hour, before applying any paint.
Painting Techniques
When the primer is dry, start painting with your chosen color. Use a brush or a spray paint can for a smooth application. If using a brush, apply with long, even strokes to avoid brush marks. For spray painting, hold the can approximately 6 to 8 inches away from the lamp and spray in a steady back-and-forth motion.
Drying and Second Coats
After painting, allow the lamp to dry for at least 2-4 hours before assessing if a second coat is necessary. If the coverage is uneven, apply a second coat, ensuring the first is completely dry. This will help achieve a more durable and consistent finish. Allow the lamp to cure for 24 hours in a well-ventilated area before reassembling or using it.
How to Paint a Wooden Floor Lamp
Preparing the Surface
Start by cleaning your wooden floor lamp with a damp cloth to remove dust and debris. Once dry, sand the surface with medium-grit sandpaper to smooth out imperfections and provide a key for the paint to adhere. Wipe down the lamp with a tack cloth to remove all sanding dust.
Choosing the Right Paint
For wooden floor lamps, acrylic or latex paint is ideal due to its durability and easy cleanup. Use a satin or semi-gloss finish to enhance the lamp's appearance and make it easier to clean. For application, synthetic bristle brushes or a small foam roller will give the smoothest finish.
Application Tips
When painting, apply thin, even coats to prevent drips and streaks. Start from the top of the lamp and work your way down to ensure even coverage. Between coats, allow the paint to dry completely, usually about 2-4 hours. Sand lightly with fine-grit sandpaper between coats to achieve the smoothest finish.
Finishing Touches
Sealing the Paint
To protect your newly painted floor lamp and extend its durability, apply a clear sealant. You can choose from polyurethane, polyacrylic, or spray-on lacquer to protect the paint from damage.
Choose a sealant that complements the type of paint you used: water-based sealants for acrylic paints and oil-based for enamel paints. Apply the sealant evenly, following the manufacturer’s instructions for the best results.
Reassembling the Lamp
Once the paint and sealant have completely dried, it’s time to reassemble your lamp. Begin by carefully attaching any pieces that were removed, such as the lampshade or base, ensuring not to scratch the new paint.
If your lamp has any electrical components that were disconnected, reconnect them according to the lamp's assembly guide. Test the lamp to ensure it's fully operational.
Maintenance and Care
Cleaning Painted Lamps
To maintain the look of your newly painted floor lamp, clean it regularly with a soft, dry cloth. Avoid using harsh chemicals or abrasive cleaners, as they can damage the paint finish. For tougher stains, use a slightly damp cloth with mild soap, then quickly dry the area to prevent water marks.
Touch-Ups
Over time, your painted lamp may experience some wear, such as scratches or chips. To handle these imperfections:
- Lightly sand the affected area with a fine-grit sandpaper.
- Clean the sanded area to remove dust.
- Apply a matching paint to the sanded area using a small brush or sponge for precision.
If you're inspired to upgrade but find the idea of painting a bit challenging, explore our collection of stylish floor lamps. Find the perfect addition to your space with ease.
Final Thought
Now it's your turn! We would love to hear about your experiences or any additional tips you might have. Please share your thoughts and insights in the comments below to help others who are considering this creative project.


Leave a comment
All comments are moderated before being published.
This site is protected by hCaptcha and the hCaptcha Privacy Policy and Terms of Service apply.