


Have you ever flipped a switch on a floor lamp, only to find it unresponsive? Flickering lights or lamps that refuse to turn on are common frustrations many face.
These issues are often traced back to a faulty lamp socket. This critical component, when faulty, can disrupt your room's ambiance and functionality.
Stay with us as we guide you through diagnosing and fixing your lamp socket, turning those frustrating flickers back into steady light with ease.
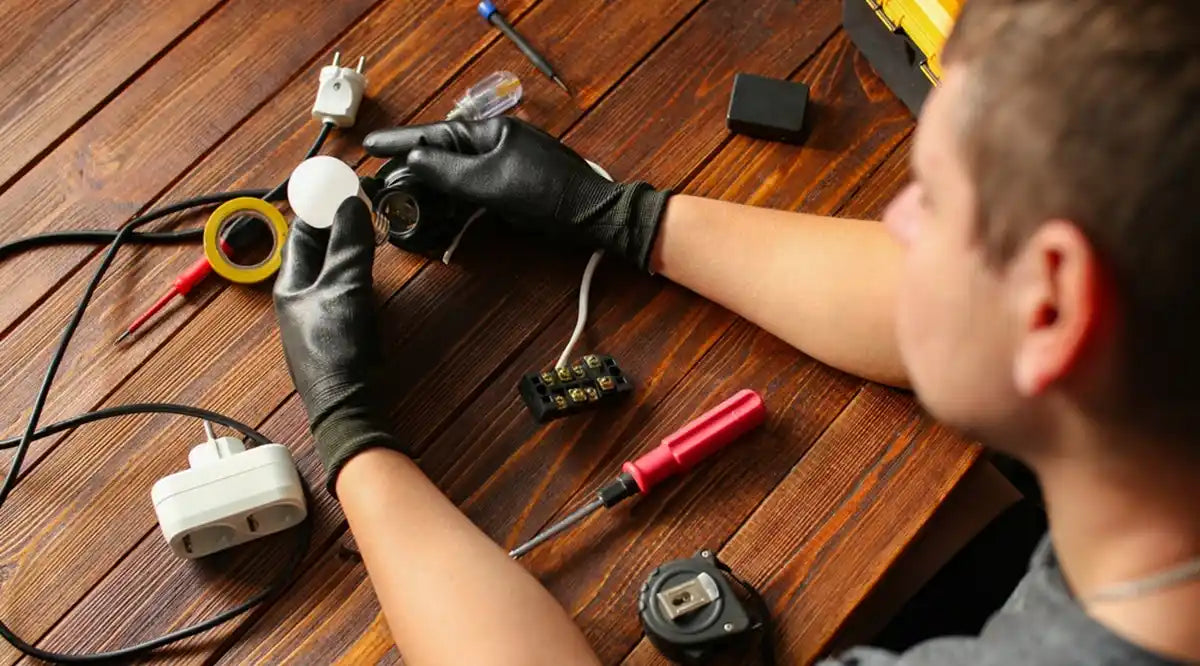
Tools Needed

- Screwdriver
- Pliers
- Wire Strippers
- Voltage Tester
Step 1: Diagnosing the Problem
Identifying Symptoms
Flickering or Absent Light: If your lamp's light flickers or doesn't turn on, it could be a sign of a malfunctioning socket. These symptoms suggest an unreliable connection within the socket that needs attention.
Testing the Socket
- Cut Off Power: Ensure the lamp is unplugged before starting any repairs to avoid electrical shock.
- Prepare the Tester: Make sure the voltage tester is functional and ready to use.
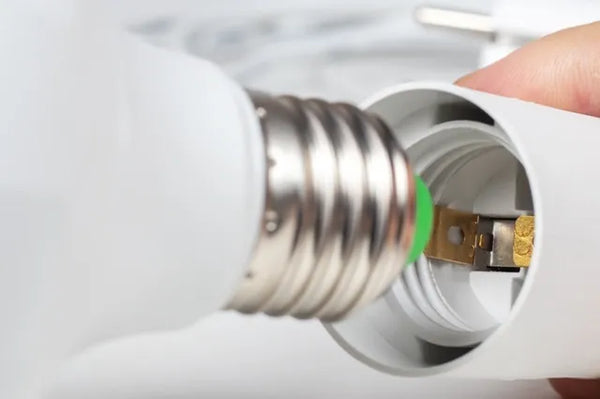
- Conduct the Test: Insert the tester's probe into the socket's slots. A lack of display on the tester indicates no electrical current, confirming the socket issue.
Step 2: Disassembling the Lamp
Removing the Lampshade and Bulb
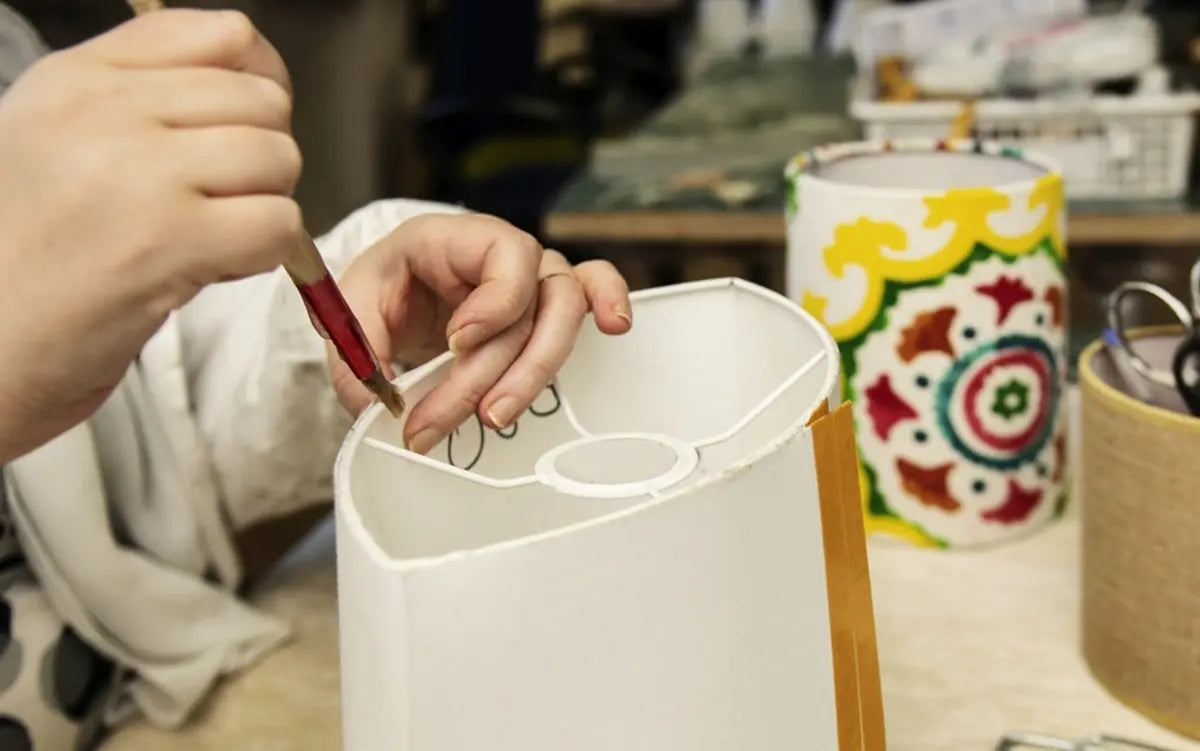
- Lampshade: Gently remove the lampshade by loosening any fasteners or clips that hold it in place.
- Bulb: Twist the bulb counterclockwise until it releases from the socket. Handle with care to avoid breakage.
Accessing the Socket
- Loosen Protective Coverings: Use a screwdriver to remove screws or other fasteners securing the socket cover.
- Remove the Cover: Lift off the cover to reveal the socket. Be mindful of any wires or delicate parts that may be exposed.
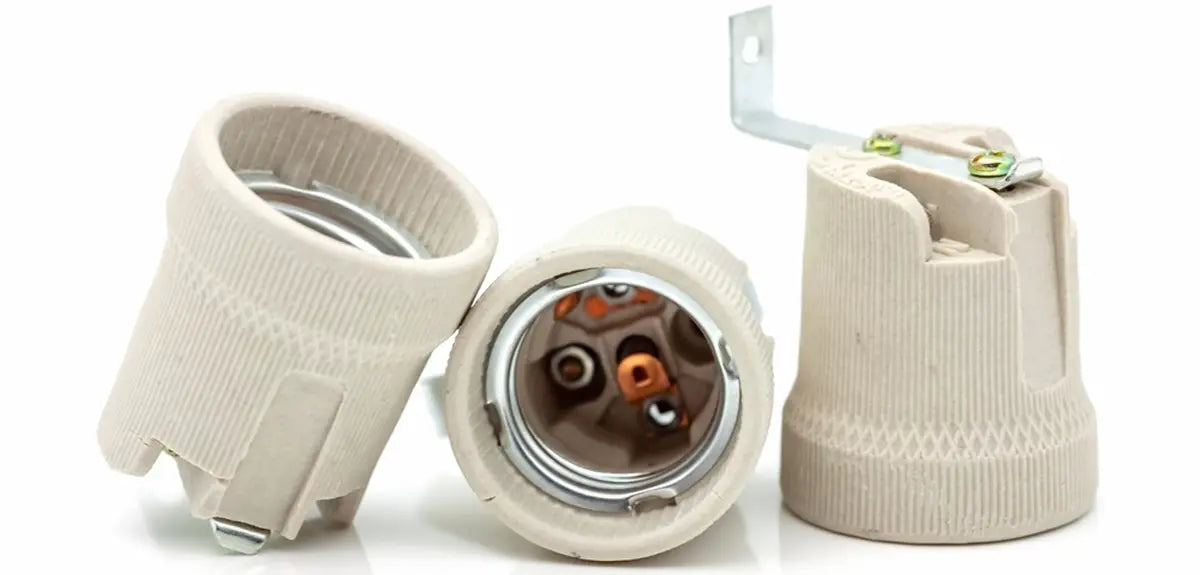
Step 3: Replacing the Socket
Removing the Old Socket
- Disconnecting Wires: Carefully unscrew the terminals and detach the wires. Take a photo or note the connections for reference when installing the new socket.
- Remove the Socket: Unscrew any mounting screws and gently remove the old socket from the lamp.
Preparing the New Socket
- Stripping Wires: If your new socket’s wires aren't pre-stripped, use wire strippers to expose about 1/2 inch of wire.
- Thread Wires: Prepare the socket for installation by threading the stripped wires through the base as necessary.
Installing the New Socket
- Connect Wires: Attach the wires to the corresponding terminals in the new socket—typically, black (hot) to brass, white (neutral) to silver.
- Secure the Socket: Screw the socket into place, ensuring it's firmly mounted and the wires are not pinched.
Step 4: Reassembling the Lamp
Reattaching Covers and Components
Replace Covers: Align and reattach any covers or components that were removed. Ensure all screws are tightened properly to avoid any loose parts.
Installing the Bulb and Lampshade
- Install the Bulb: Carefully screw the bulb into the newly secured socket. Ensure it's snug but not overly tight to avoid damage.
- Attach the Lampshade: Reattach the lampshade by reversing the removal process. Check that it sits evenly and securely.
Step 5: Testing and Troubleshooting
Turn the Power On and Test
- Reactivate Power: Safely switch the power back on at the main or plug the lamp back in.
- Test Functionality: Turn on the lamp to check if it lights up without issues. If it lights up smoothly, your fix was successful.
Troubleshooting Common Issues
Lamp Not Working
- Check Connections: Ensure all wire connections are secure. Loose wires can prevent the lamp from working.
- Inspect the Bulb: Make sure the bulb is working and properly screwed in.
Flickering Light
- Stable Connections: Confirm that the socket connections are tight and the bulb isn't loose.
- Examine the Bulb: Sometimes, a defective bulb can cause flickering. Try replacing it with a new one to see if the issue resolves.
Maintain Your Lamp Regularly
- Tighten Connections: Periodically check and tighten the screws on the lamp's socket and base to prevent loosening.
- Clean Regularly: Dust the lampshade and base regularly to maintain its appearance and functionality.
Related: How do I maintain a floor lamp daily - Quick Tips
For floor lamps that promise enduring durability and stylish appeal, explore our top selection of enduring durability lamps perfect for any setting.
When to Seek Professional Help if Needed
- Complex Repairs: If you encounter wiring issues or the repair exceeds your comfort level, it’s wise to call a qualified electrician.
- Safety First: Professionals handle complex issues safely and effectively, ensuring your lamp continues to operate optimally.
Final Thought
We've covered the essential steps to diagnosing and repairing a faulty floor lamp socket, simplifying what might seem like a daunting task.
Now, we'd love to hear about your experiences! Drop a comment below to share your insights or any questions you might have.
For more detailed repair techniques and tips, check out our comprehensive floor lamp fix guide. Your next DIY project just got a little easier!
Also Check Out
How to Fix Floor Lamp Switch - 4 Easy and Useful Ways
How to Fix a Leaning Floor Lamp: A Step-by-Step Guide


Leave a comment
All comments are moderated before being published.
This site is protected by hCaptcha and the hCaptcha Privacy Policy and Terms of Service apply.