


Ever wondered how to transform simple driftwood into an elegant floor lamp?
In this guide, you'll learn how to select, prepare, and assemble driftwood into a stylish and functional lamp.
Whether you're a DIY novice or a seasoned pro, you’re bound to find something intriguing here.
Let's start this creative journey together!
Supplies Need
- Driftwood Pieces
- Lamp Kit: Includes all electrical components like a socket, cord, and plug.
- Lampshade
- Gloves
- Goggles
- Drill
- Screws:
- Saw
- Sandpaper
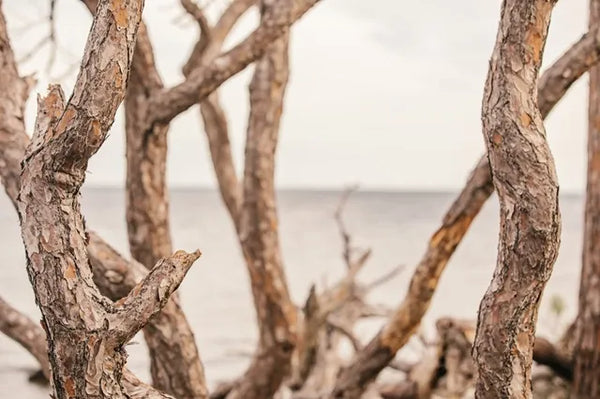
Suggestions for Sourcing Quality Driftwood

- Check local beaches, riverbanks, or lakes for driftwood, ensuring you have the appropriate permissions to collect materials.
- Visit gardening or landscaping centers for larger pieces.
- Use online marketplaces for pre-cleaned and treated driftwood.
Step 1: Preparing the Driftwood
Cleaning the Driftwood
Rinse driftwood in fresh water to remove loose dirt and debris.
- Soak the pieces in a diluted bleach solution for 24 hours to kill any algae or bacteria. Use one part bleach to ten parts water.
- Scrub each piece with a stiff brush under running water to ensure thorough cleaning.
- Allow the driftwood to dry completely in the sun for several days until it feels dry to the touch.
Treating the Driftwood
- Apply a wood preservative to protect against decay and insects. Choose a product suitable for indoor use to ensure safety and air quality.
- For a natural finish, use a clear wood sealant that enhances the driftwood’s texture without altering its color.
- Allow the treatment to cure for the time specified by the product manufacturer before proceeding with assembly.
Selecting the Right Pieces
- Choose pieces that are similar in density and color for a cohesive look.
- Inspect each piece for stability; avoid those with cracks or weak spots that might compromise the lamp's structure.
- Consider the size and shape of each piece and how it will contribute to the overall design of the lamp. Aim for a balanced and visually appealing composition.
Step 2: Designing the Lamp Structure
Balance and Weight Distribution
- Ensure that the base of your lamp is heavy enough to support the structure without tipping over. Consider using larger, heavier pieces of driftwood at the base.
- Distribute weight evenly around the lamp’s axis. Symmetrical designs tend to be more stable.
Arranging Driftwood Creatively
- Lay out your driftwood pieces on a flat surface before assembly to visualize the design. Adjust for height and width according to your space and aesthetic preference.
- Experiment with different arrangements—vertical stacking for height, and radial patterns for sprawling designs.
Securing the Pieces Together
Drilling and Screwing
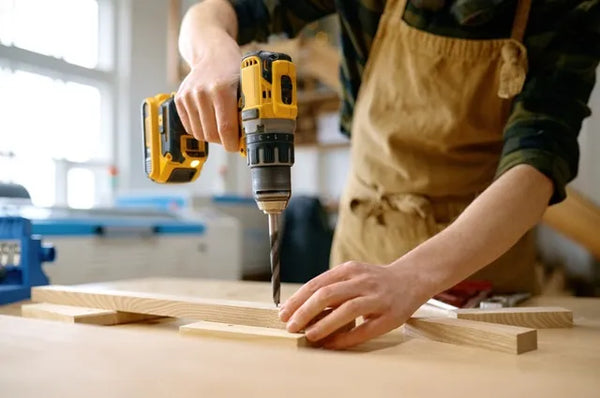
Pre-drill holes to avoid splitting the wood. Use wood screws of appropriate length to join the pieces securely.
Using Adhesives
- Apply wood glue for extra bonding strength at joints. Use clamps to hold pieces together while the glue dries.
- For areas needing reinforcement, consider using epoxy resin, which fills gaps and forms a strong bond.
Step 3: Installing the Electrical Components
Assembling the Lamp Kit
- Unpack all components of your lamp kit. This typically includes a socket, cord, plug, and necessary fittings.
- Follow the kit instructions for basic assembly. Attach any provided brackets or hardware to the socket before wiring.
Threading the Wire Through the Driftwood
- Choose a drill bit that matches the size of your cord. Drill a hole at the base of your lamp structure where the cord will enter, and another where it will exit near the socket.
- Thread the wire carefully through the driftwood, starting from the base up to the top where the socket will be. Use a fish tape if necessary to pull the cord through complex arrangements.
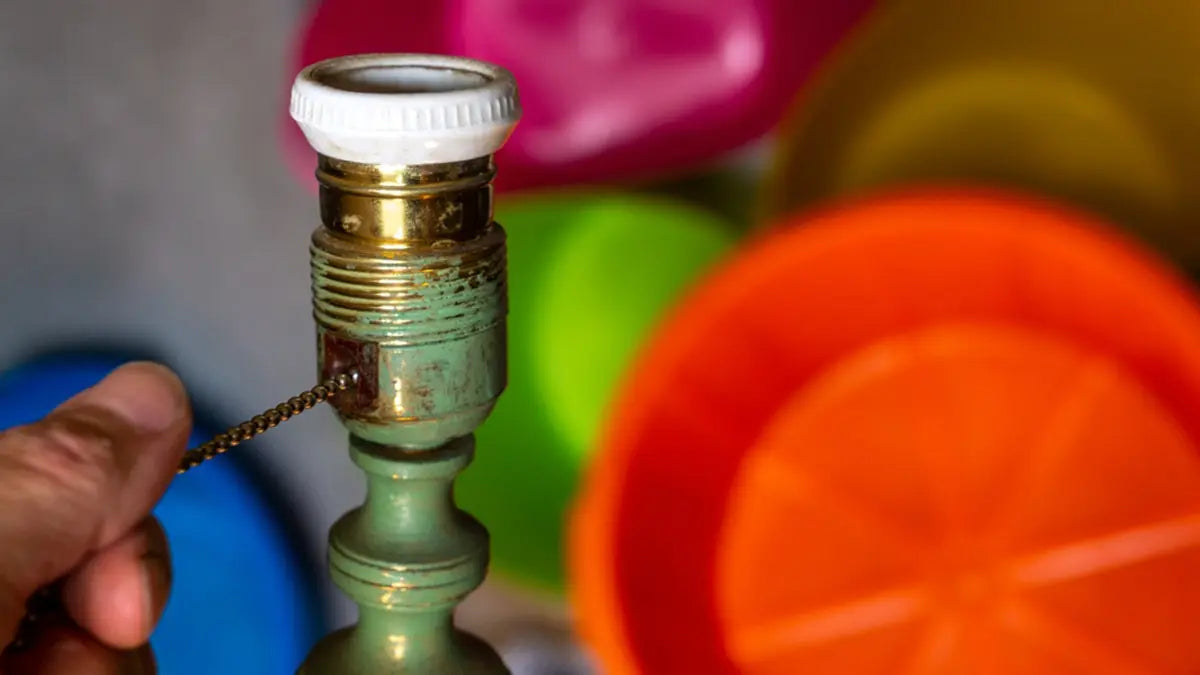
Attaching the Socket and Wiring the Plug
Socket Attachment
- Connect the wire ends to the socket terminals. Typically, the neutral wire (usually white) connects to the silver screw, and the hot wire (usually black) connects to the gold screw.
- Secure the socket to the driftwood using the mounting bracket or adhesive.
Wiring the Plug
- Open the plug casing. Attach the wire ends to the corresponding screws inside the plug—neutral to silver, hot to brass.
- Close the plug casing and ensure it’s tightly sealed.
Safety Tips for Electrical Components
- Always disconnect the power before starting the installation to avoid any risk of electric shock.
- Use wire strippers to remove insulation from the ends of the wires; do not use knives or other sharp objects that could damage the wire.
- Double-check connections to make sure they are tight and secure to prevent any potential electrical fires.
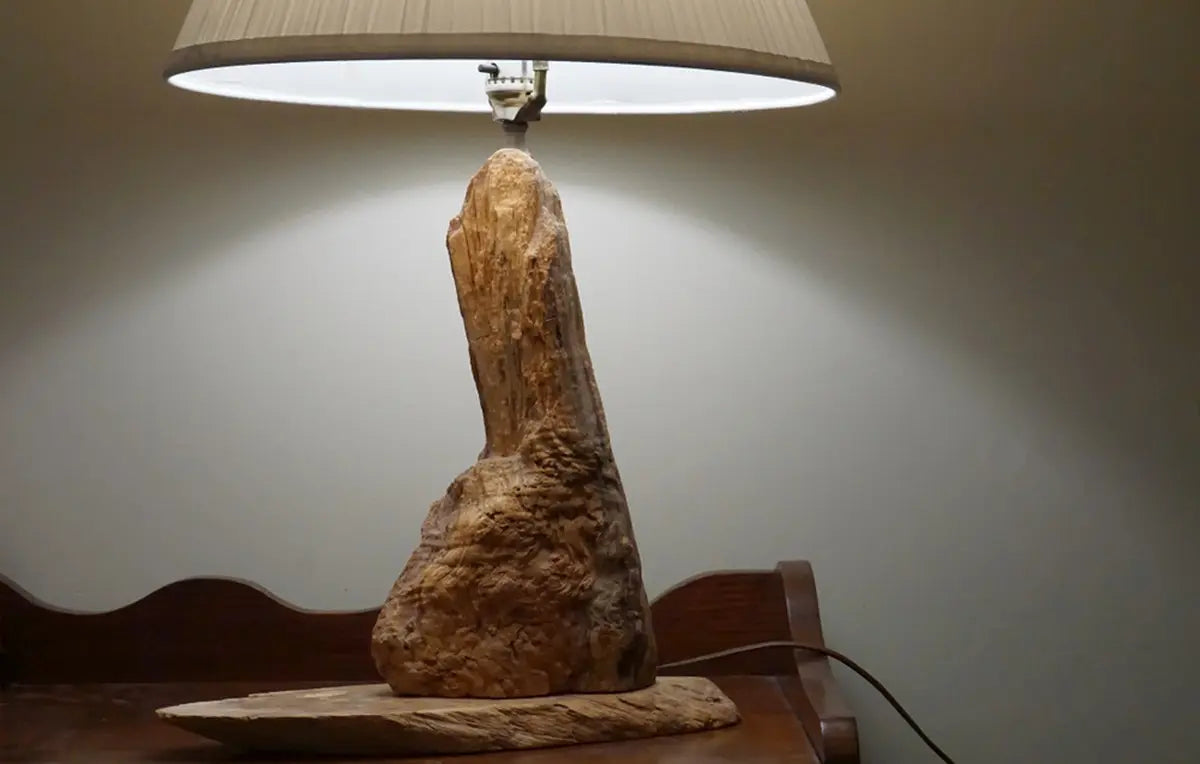
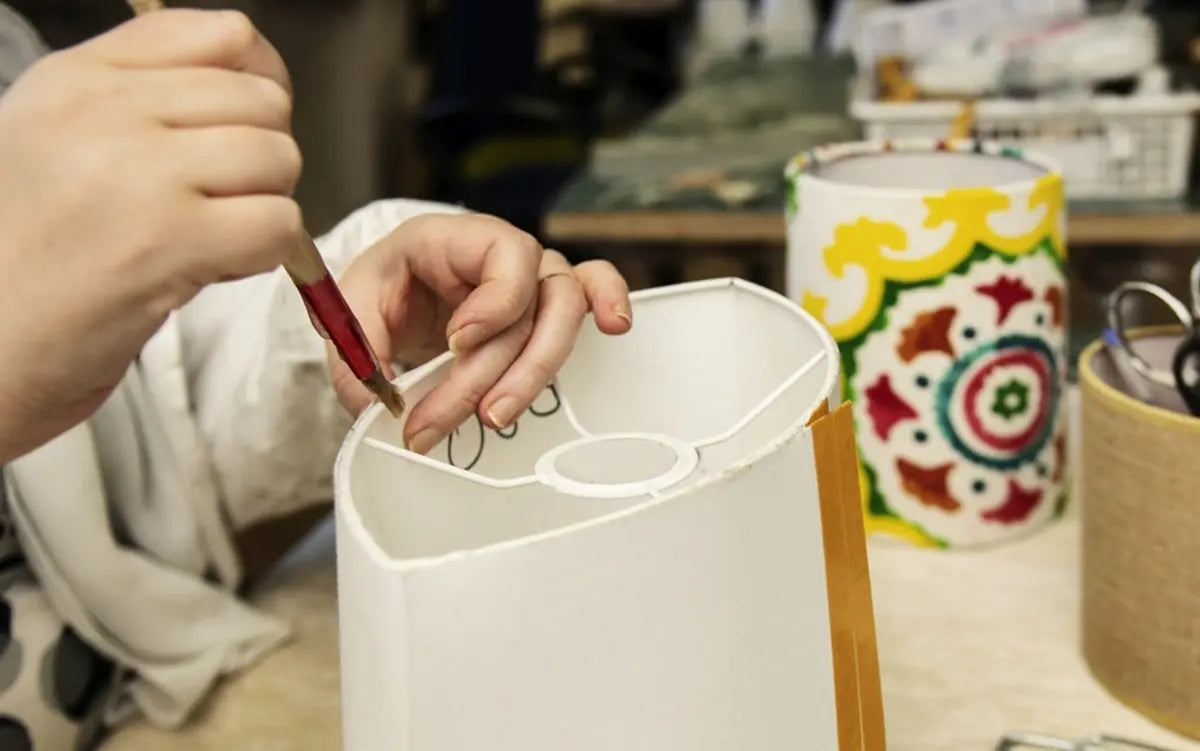
Step 4: Attaching the Lampshade
Choosing the Right Lampshade
- Select a lampshade that matches the color and texture of your driftwood.
- Consider the size of the lampshade about the lamp base to maintain balance.
Related: How to Choose Lampshade for Floor Lamp: Ultimate Guide
Securing the Lampshade to the Driftwood Base
1. Position the shade's harp (if included)
Attach the harp base to the socket area before wiring the socket.
2. Install the socket
After wiring, place the socket cap over the socket, securing it to the harp base.
3. Place the lampshade
Set the lampshade onto the harp and secure it with a finial. Tighten the finial to ensure the shade is stable and does not wobble.
If you're looking for a sleeker, more minimalist approach without the DIY effort, consider exploring our range of minimalist floor lamps designed to complement any modern decor.
Step 5: Finishing Touches
Ideas for Additional Decorations or Modifications
- Paint: Consider applying a light wash of white or pastel paint to enhance the rustic feel of the driftwood, emphasizing its natural grooves and texture.
- Varnish: Apply a clear varnish to protect the wood and give it a polished look. Opt for a matte finish to maintain the natural aesthetic.
Checking the Lamp for Stability and Safety
- Stability Test: Gently push the lamp from several angles to ensure it does not tip over easily. The base must be heavy enough to support the structure.
- Safety Inspection: Double-check all electrical connections. Make sure there are no frayed wires or loose connections. Test the lamp to ensure it operates correctly and safely before regular use.
Step 6: Testing Your Lamp
Guide on How to Safely Test the Lamp
- Ensure the Lamp is Unplugged: Start with the lamp unplugged to avoid any electrical hazards.
- Check the Cord and Plug: Inspect the electrical cord and plug for any damage. If you see fraying or cracks, do not proceed with testing.
- Connect to Power: Once everything is deemed safe, plug the lamp into a power outlet.
Troubleshooting Common Issues
Unstable Base
- If the lamp wobbles or seems unstable, adjust the base or redistribute the weight of the driftwood pieces to achieve better balance.
- Consider attaching a heavier base plate if the current setup doesn't provide enough stability.
Flickering Bulb
- Ensure the bulb is properly screwed into the socket. A loose bulb can cause flickering.
- Check the wiring connections at the socket and plug for any loose or exposed wires. Tighten or insulate them as necessary.
Maintenance Tips
How to Care for Your Driftwood Floor Lamp
Regular Dusting: Use a soft brush or a microfiber cloth to gently remove dust from the surface of the driftwood. Avoid using harsh chemicals that can strip the natural oils of the wood.
Occasional Deep Cleaning: If the driftwood looks dull or dirty, wipe it down with a slightly damp cloth. Let it dry completely in a well-ventilated area to prevent moisture accumulation.
Related: How do I maintain a floor lamp daily - Quick Tips
Cleaning and Bulb Replacement Tips
Cleaning the Lampshade and Bulb
Turn off and unplug the lamp before cleaning. Dust the lampshade gently with a dry cloth or use an appropriate vacuum attachment.
Clean the bulb with a soft, dry cloth. Be careful not to apply pressure to the bulb's surface.
Replacing the Bulb
Ensure the lamp is unplugged and the old bulb is cool before attempting to replace it.
Screw in the new bulb gently until it is secure. Avoid over-tightening, which can damage the socket.
Final Thought
Create your driftwood floor lamp and add a personal touch to your space. Experiment with different designs and share your creations with us.
Feel free to ask questions or offer suggestions in the comments below.
Let’s inspire each other with our unique lamps!
Further Reading
How to Make a Floor Lamp: A Comprehensive DIY Guide


Leave a comment
All comments are moderated before being published.
This site is protected by hCaptcha and the hCaptcha Privacy Policy and Terms of Service apply.