


Ever wondered how a custom lampshade could transform your room's vibe?
This detailed guide walks you through creating your own lampshade, from choosing fabric to final attachment.
Let’s get started and make something uniquely yours!
Supplies Needed
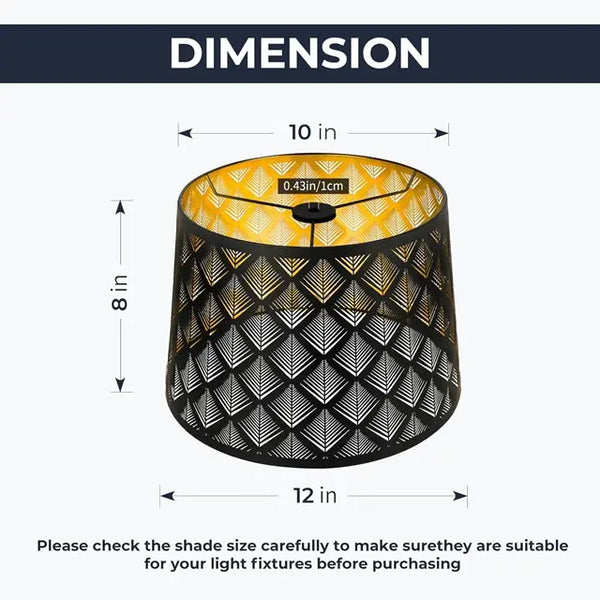
- Fabric
- Lampshade Frame
- Adhesive
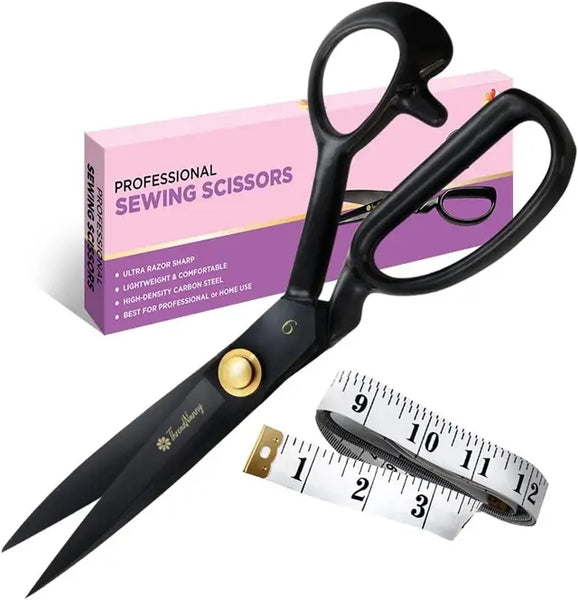
- Scissors
- Brush
- Measuring Tape
Optional Embellishments
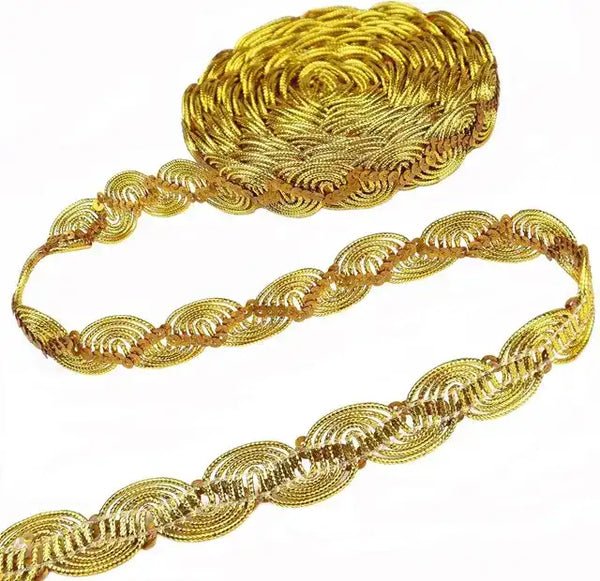
- Ribbons
- Beads
- Sequins
Practical Tips
- When selecting fabric, hold it up against the light to check how it diffuses light.
- Measure twice before cutting; an extra inch of fabric is better than an inch too short.
- Test the adhesive on a scrap of your chosen fabric to ensure it doesn’t stain or bleed through.
Step 1: Choosing the Right Style and Size
Determining the Correct Lampshade Size
Start by measuring the height of your floor lamp from base to fitting. The lampshade should be about two-thirds the height of the lamp base. This proportion maintains balance without overwhelming the lamp's structure.
The width of the lampshade at its widest point should slightly exceed the widest part of the lamp base, ensuring a harmonious look.
Selecting a Complementary Style
When it comes to style, think about the vibe you want to create. A modern lamp base might look best with a sleek, angular shade, while a more traditional base might suit a classic bell-shaped or drum shade.
Consider the room’s decor; a lampshade should tie the room together, not stand out awkwardly. If your room features minimalist decor, a lampshade with clean lines contributes to a serene atmosphere.
Related: How to Choose Lampshade for Floor Lamp: Ultimate Guide
For those who appreciate the timeless elegance of a classic floor lamp without the DIY effort, explore our carefully curated collection of classical floor lamps designed to elevate any space.
Importance of Fabric Choice
The fabric of your lampshade impacts not just the look, but also the quality of light. A denser fabric can provide a soft, diffused glow that enhances a cozy, inviting feel in your living space.
On the other hand, a lighter fabric can brighten a room significantly, making it ideal for reading corners or workspaces. Choose a color that matches your existing decor palette to unify your space's design elements.
Quick Tip: Always check how the fabric handles light by shining a torch or lamp through a sample.
Step 2: Preparing Your Workspace
Setting Up a Clean and Organized Workspace
- Clear the Area: Start with a clean table and ample space. Remove any unnecessary items to avoid clutter.
- Organize Materials: Arrange all your tools and materials within easy reach but out of the way of your main working area.
Safety Precautions
- Proper Lighting: Ensure your workspace is well-lit to avoid eye strain and mistakes when measuring, cutting, or assembling your lampshade.
- Safe Handling of Tools: Keep sharp tools like scissors in a safe place and handle them carefully. If using a hot glue gun, keep it on a silicone pad or metal stand to prevent burns or damage to your work surface.
- Ventilation: If you're using spray adhesives or other chemicals, work in a well-ventilated area or near an open window to avoid inhaling fumes.
Quick Safety Tip: Always wear a protective apron or old clothes to protect yourself from glue spills or fabric dyes. Consider safety glasses if you're cutting materials that might shatter or snap back.
Step 3: Measuring and Cutting the Fabric
How to Measure the Lampshade Frame
- Start with the Height: Measure the height of the lampshade frame from top to bottom. Add an extra half-inch on both ends for seam allowances.
- Measure the Circumference: Wrap your measuring tape around the widest part of the frame to get the circumference. Add an inch for overlap where the fabric edges will meet.
Instructions on Cutting the Fabric to Size
- Mark Your Measurements: Lay the fabric on a flat surface and use chalk or a fabric marker to draw the dimensions you've measured. Include clear marks for the seam allowances.
- Cutting: Using sharp fabric scissors, cut along your marked lines. Ensure cuts are straight and smooth to avoid fraying and uneven edges.
Pro Tip: Always double-check your measurements before cutting. Remember, it’s easier to trim excess fabric than to fix a piece that’s too short!
Step 4: Attaching the Fabric to the Frame
Step-by-Step Process of Attaching the Fabric to the Frame
- Align the Fabric: Start by aligning the fabric with the frame, ensuring the extra inch for overlap is at the seam where the fabric edges will meet. Begin at one end and gradually work your way around the frame.
- Secure with Clips: Use small binder clips or clothespins to hold the fabric in place temporarily as you adjust for smoothness and tension.
Smoothing Out the Fabric and Ensuring It Is Evenly Attached
- Smooth as You Go: As you attach the fabric, gently pull it taut to avoid wrinkles.
- Check for Evenness: Rotate the lampshade periodically to view it from different angles, ensuring there are no bunches or loose areas.
Advice on Using Adhesives
- Choosing the Right Adhesive: Select a fabric glue that dries clear and is formulated for use with both fabric and metal or plastic (depending on your frame).
- Applying Adhesive: Apply a thin, even layer of glue along the frame where the fabric will attach.
- Let it Set: Once the fabric is in place and secured with clips, allow the adhesive to dry completely before removing the clips.
Step 5: Adding Embellishments
Customizing the Lampshade with Different Embellishments
- Ribbons and Lace: Wrap ribbons or lace around the top or bottom edges of the lampshade for a classic, elegant look.
- Beads and Sequins: For a touch of sparkle, attach beads or sequins to create patterns or highlight certain areas.
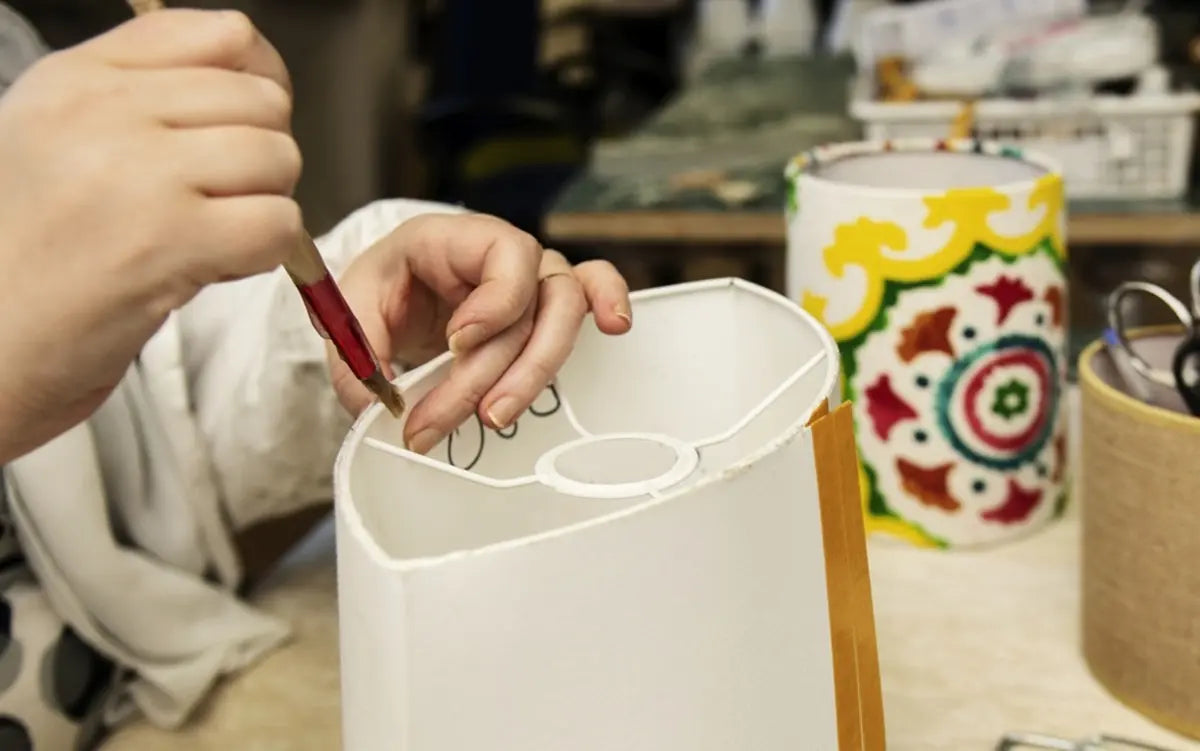
- Painted Designs: Use fabric paints to add hand-painted designs, such as floral patterns or abstract art, for a truly personal touch.
Securely Attaching Decorations
- Sewing: For durable attachment of heavy items like beads, hand-sew them onto the fabric before attaching the fabric to the frame.
- Gluing: Use strong, clear-drying craft glue for lighter embellishments like ribbons and sequins. Apply with a toothpick or small brush for precision.
- Iron-Ons: For appliques or patches, consider iron-on options that can be easily adhered with a standard clothes iron set to the appropriate heat setting for your fabric.
Tips for Maintaining Balance and Aesthetic Appeal
- Symmetry and Spacing: Place decorations evenly around the lampshade to maintain balance.
- Color Coordination: Choose embellishments that complement the color of your fabric and the overall room decor.
- Testing Placement: Before permanently attaching anything, temporarily place embellishments on the fabric to get a visual of the final look. Adjust as necessary to achieve your desired design.
Decorator's Tip: Always remember, less is often more. A few well-placed decorations can make a bigger statement than many randomly placed ones. Aim for a design that enhances, not overwhelms, your lampshade.
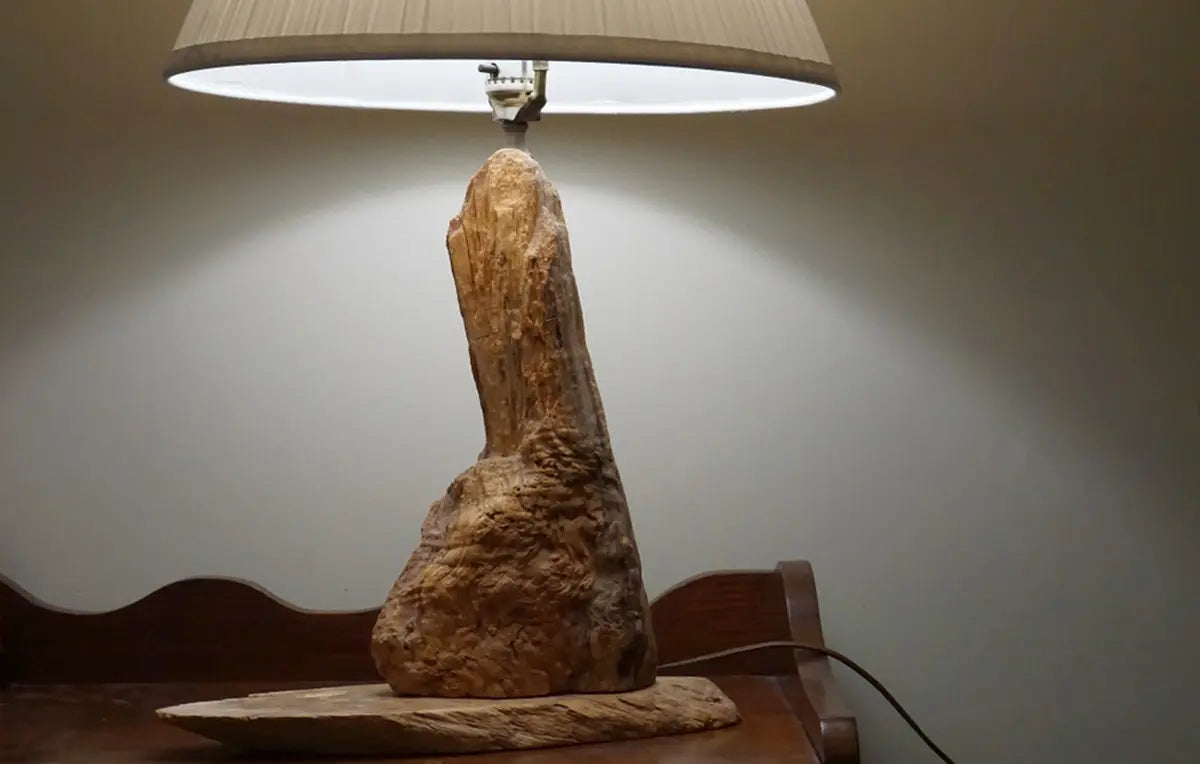
Step 6: Installing the Lampshade
How to Safely Attach the New Lampshade to the Floor Lamp
- Turn Off the Power: Ensure the lamp is unplugged and the light bulb is cool before beginning.
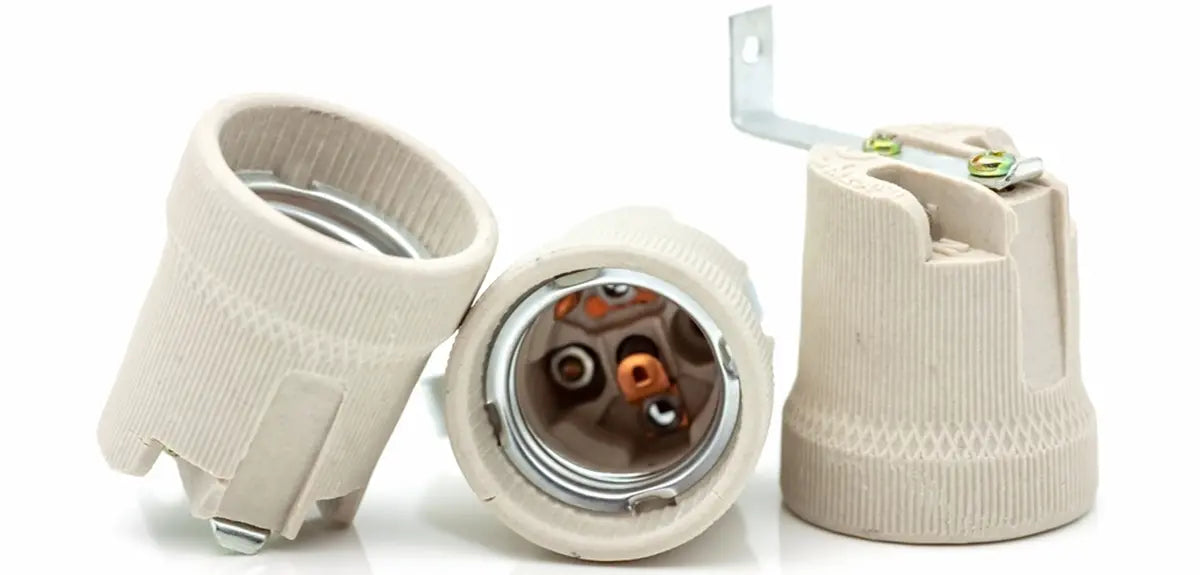
- Attach the Harp: If your lampshade uses a harp (the metal frame that fits around the bulb), secure it firmly over the lamp’s base. Most harps have a locking mechanism that snaps into place.
- Set the Lampshade: Place the lampshade on top of the harp, ensuring it sits evenly. The shade should cover the light bulb entirely without touching it.
- Secure the Finial: Screw the finial (decorative knob) onto the top of the harp to hold the lampshade in place. Tighten it by hand, but avoid over-tightening to prevent damage.
Tips for Adjusting the Lampshade for Optimal Lighting and Appearance
- Adjust for Evenness: Check that the lampshade is level. An uneven lampshade can direct light awkwardly and diminish the room's aesthetics.
- Consider the Bulb Type: The type of bulb you use can affect both the intensity and the spread of light. Experiment with different bulbs (LED, halogen, CFL) to find the best lighting for your space.
- Rotate the Shade: Sometimes, rotating the lampshade slightly can change how the light is distributed, enhancing the mood or functionality of the lamp.
Lighting Tip: For a cozy, inviting atmosphere, choose a bulb with a warm color temperature. For reading or tasks requiring focus, cooler, brighter bulbs may be more effective.
Maintenance and Care
How to Clean and Maintain the Lampshade
- Dust Regularly: Use a soft microfiber cloth or a duster to gently remove dust from the surface of the lampshade.
- Spot Cleaning: For stains or spots, lightly dab with a damp cloth. Use a small amount of mild detergent if necessary.
Tips on Regular Maintenance
- Check for Loose Parts: Periodically ensure that all parts of the lampshade, including the frame and attachments, are secure. Tighten any loose parts to avoid damage.
- Rotate the Shade: Occasionally rotate the lampshade to ensure even fading from sunlight and to prevent dust from settling in one area over time.
- Bulb Consideration: Use the appropriate wattage and type of bulb as recommended for your lamp to prevent excessive heat that can damage the lampshade material over time.
Related: How do I maintain a floor lamp daily - Quick Tips
Care Tip: If your lampshade is made of delicate materials like silk, consider using a vacuum with a soft brush attachment for a deeper clean without stressing the fabric.
Related: How To Properly Clean All Lamp Shades?
Before you leave
Why not share your lampshade creations or ask questions in the comments below?
If you're keen to dive deeper into DIY lighting, check out this comprehensive floor lamp guide for more great ideas and tips!


Leave a comment
All comments are moderated before being published.
This site is protected by hCaptcha and the hCaptcha Privacy Policy and Terms of Service apply.