


Ever looked at your elegant hanging lamp and wished it could light up a different corner as a floor lamp?
Many find themselves wishing to repurpose their lighting without knowing where to start.
This blog will guide you through converting your hanging lamp into a stylish floor lamp, bringing a fresh vibe to any room.
Let's dive into the transformation process together!
Key Takeaways
Converting a hanging lamp into a floor lamp can be a creative and practical DIY project. Here are some general steps you can follow:
- Stability Check
- Remove Hanging Mechanism
- Attach to Floor Lamp
- Adjust Height
- Test Stability
Stability Check
To ensure that the floor lamp base is stable enough to support the hanging lamp's weight, follow these steps:
-
Check the Material: The material of the floor lamp base plays a crucial role in its stability. Choose a sturdy and durable material for your hanging lamp, such as metal or wood. This will ensure that the lamp can support its weight without tipping over.
-
Evaluate the Design: The design of the floor lamp base also impacts its stability. Select a sturdy base for the hanging lamp to evenly distribute weight and prevent tipping.
- Consider the Height: The height of the floor lamp base should be appropriate for the hanging lamp you intend to convert. A taller base may provide more stability by lowering the center of gravity and reducing the risk of tipping.
-
Test the Stability: Before attaching the hanging lamp to the floor lamp, conduct a stability test. Place some weight on the base to simulate the weight of the hanging lamp and see if the base remains stable. If the base wobbles or tips easily, it may not be suitable for this project.
-
Reinforce the Base: If you find that the floor lamp base is not as stable as you'd like, consider reinforcing it. You can add weights to the base, secure it to the floor, or use adhesive pads to improve stability.
- Double-Check Connections: Make sure all connections between the hanging lamp and the floor lamp base are secure. Inspect the attachment points carefully to ensure that the hanging lamp is firmly in place and not at risk of falling.
Remove Hanging Mechanism
-
Inspect and Identify: First, examine the hanging lamp to locate the chain or wire attachment. Check how it’s connected to the lamp body—usually via a screw or a loop.
-
Gather Tools: Depending on the attachment type, prepare the necessary tools such as pliers, wire cutters, or a screwdriver. If it’s screwed on, use the screwdriver to loosen and remove it. If attached by a loop, use pliers to twist and open it.
-
Detach the Chain or Wire: Be careful when removing the chain or wire from the lamp to avoid any electrical parts. Place the chain or wire aside for later disposal or repurposing.
-
Check for Remaining Attachments: Ensure all parts of the hanging mechanism are removed. Look for any extra screws, hooks, or loops still attached and remove them.
- Prepare for Conversion: With the hanging mechanism removed, your lamp is ready to be transformed into a floor lamp. Keep all hardware safe for use in future steps.
Attach to Floor Lamp
Here is a step-by-step guide on how to effectively attach the hanging lamp to the floor lamp:
-
Assess Attachment Needs: Examine both the hanging and floor lamps to understand how they can connect. Check the hanging lamp's size, weight, and shape against the floor lamp to determine the attachment method needed, like brackets or hooks.
-
Choose Hardware: After figuring out the attachment method, select suitable hardware such as screws, nuts, and bolts that can bear the hanging lamp's weight. Confirm the hardware’s compatibility and strength for secure installation.
-
Position the Lamp: Carefully place the hanging lamp atop the floor lamp, ensuring it's centered and stable. This setup should look appealing and balanced for effective attachment.
-
Mark Attachment Points: Use a pencil to mark where the hanging lamp will connect to the floor lamp. These marks will guide where to drill holes or secure screws, ensuring alignment and even spacing.
-
Secure the Lamp: If needed, drill holes at the marked points using an appropriate drill bit, or screw directly into the floor lamp. Proceed with caution to avoid damaging the lamps.
- Final Attachment: Attach the hanging lamp securely to the floor lamp using the chosen hardware. This will prevent the lamp from moving or coming loose.
Adjust Height
Assess the Desired Height
Before you begin modifying the cord or chain, take some time to determine the ideal height of your floor lamp. Consider the height of the surrounding furniture, the lighting needs of the space, and any aesthetic considerations. This will guide you in making the necessary adjustments to achieve the perfect height.
Gather the Tools
To modify the length of the cord or chain, you will need a few tools to assist you in the process. You may need tools like wire cutters, pliers, scissors, a tape measure, and a soldering iron to fix any parts.
Prepare the Cord or Chain
Before shortening the cord or chain, make sure to unplug the lamp from the power source for safety. Carefully unwind the cord or chain from any fixtures or hooks that hold it in place. Lay it out flat to make it easier to work with.
Measure and Mark
Use a tape measure to determine the new length you need for the cord or chain based on the desired height of the floor lamp. Mark the point where you will cut the cord or chain to make the necessary adjustments.
Cut the Cord or Chain
Using your wire cutters or scissors, carefully cut the cord or chain at the marked point. Take your time to ensure a clean and precise cut, as this will affect the overall appearance and functionality of the floor lamp.
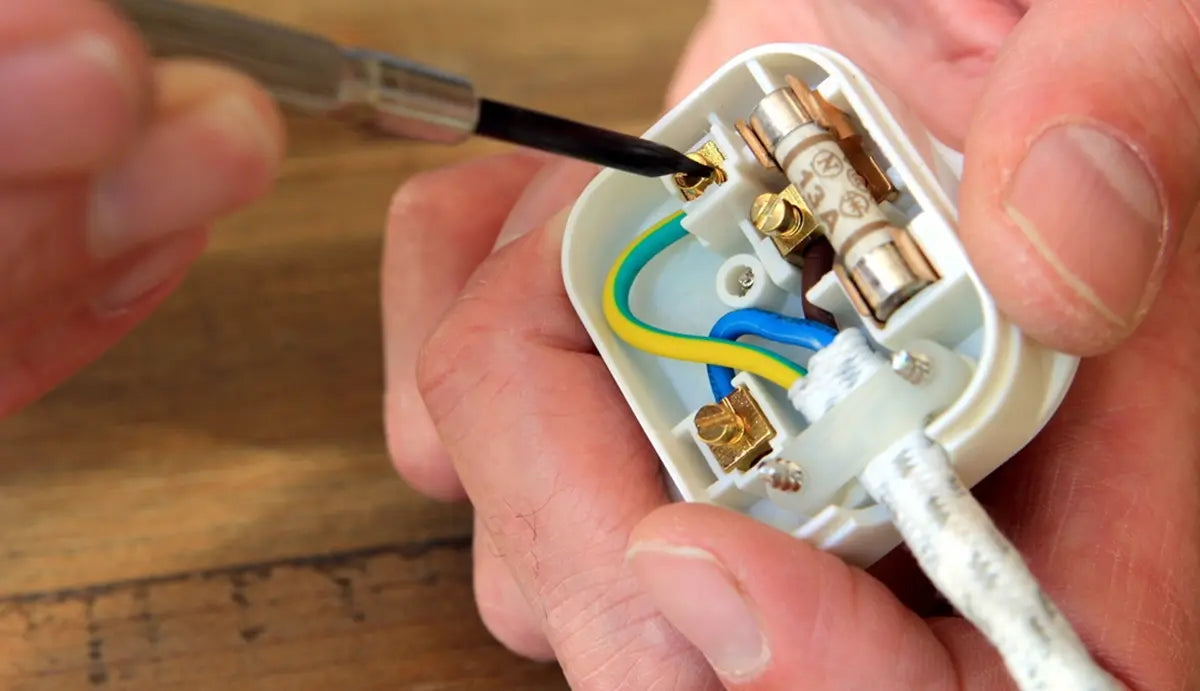
Secure the Ends
If you have cut the cord, you may need to reattach the plug or socket at the end. Use a soldering iron to connect the wires securely, following any manufacturer instructions or safety guidelines. For chains, you can use connectors or links to rejoin the pieces.
Reattach to the Lamp
After adjusting the cord or chain to the right height, reattach it to the floor lamp. Ensure that it is securely fastened and that there are no loose or dangling parts that could pose a safety risk.
Test the Height
After making the necessary adjustments, plug in the floor lamp and test the height to ensure it meets your expectations. Make any final tweaks as needed to achieve the perfect height for your space.
Test Stability
-
Before testing the stability of the hanging lamp attached to the floor lamp, make sure that you have followed all the previous steps correctly.
-
Start by gently moving the lamp to see if it wobbles or sways excessively. If it does, you may need to reinforce the attachment or make adjustments to improve stability.
-
Next, make sure that the lamp is secure by gently tugging on the hanging lamp to see if it remains in place. If it feels loose or unstable, tighten the attachment or add more support to prevent accidents.
-
Check the functionality of the lamp by turning it on and off. Ensure that the light source works properly and that there are no flickering or intermittent issues. If there are any problems with the functionality, troubleshoot the wiring or connections to resolve them.
- Test the lamp for safety risks by looking for any exposed wires, loose connections, or hot spots.
- Finally, test the stability of the floor lamp by placing it in its intended location and observing how it stands on different surfaces.
Final Thought
Now that you've transformed your hanging lamp into a floor lamp, share your experience and any unique twists you added in the comments below to inspire others!
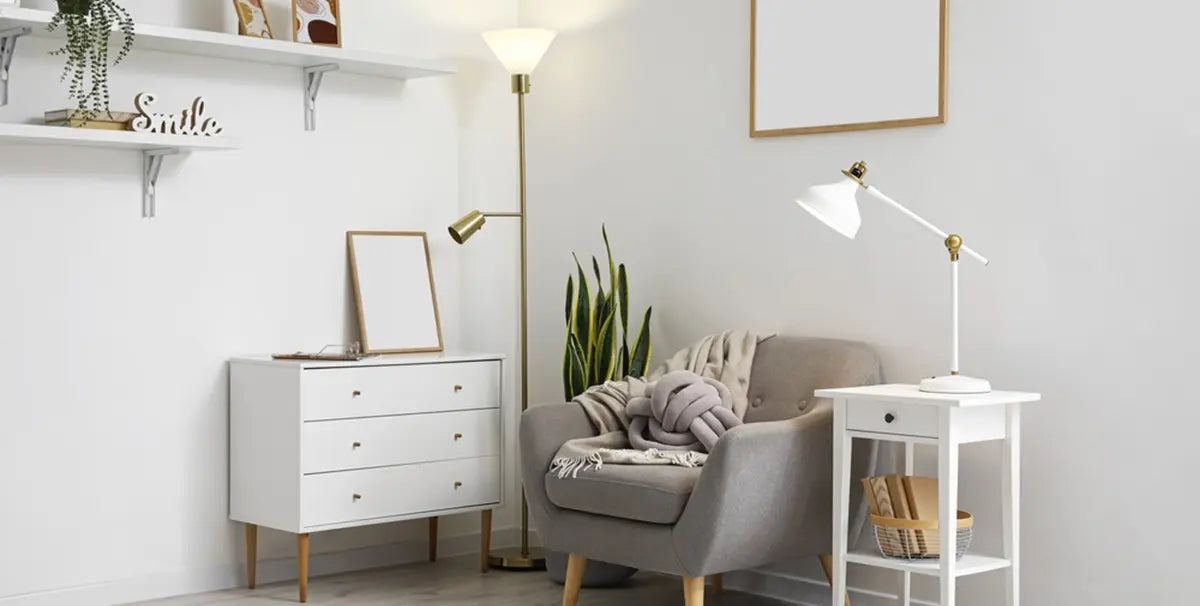
If you're looking for more elegant and professionally designed options, explore our collection of gorgeous floor lamps perfect for any home décor.
Further Reading
How to Decorate a Floor Lamp: 16 Creative Ways
How to Paint a Floor Lamp Easily: Comprehensive Guide
How to Spray Paint a Floor Lamp Easy: Ultimate Guide


Leave a comment
All comments are moderated before being published.
This site is protected by hCaptcha and the hCaptcha Privacy Policy and Terms of Service apply.