


Ever wondered how to make your industrial pipe floor lamp?
In this guide, we'll unravel the secrets behind creating a stunning statement piece for your home or workspace.
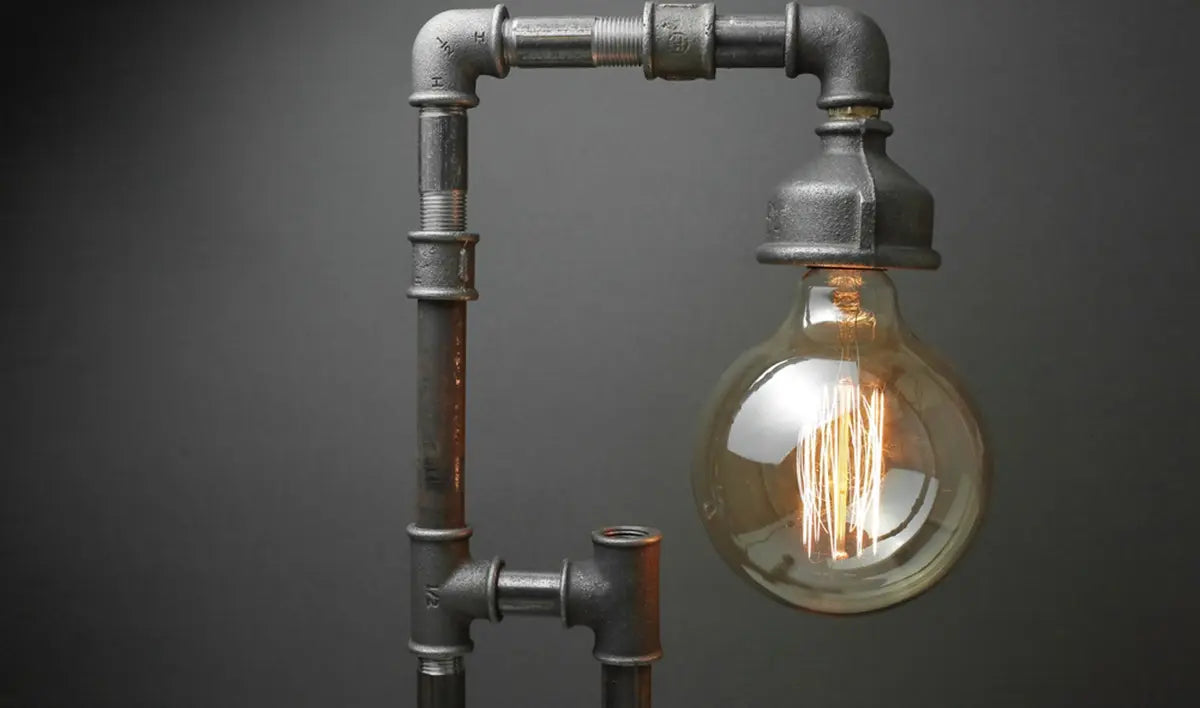
Dive into the world of industrial design as we uncover the step-by-step process of assembling your unique floor lamp.
Get ready to unleash your creativity and illuminate your space with personalized style and flair.
Key Takeaways
To make an industrial pipe floor lamp, you can follow these general steps:
- Gather the necessary materials.
- Assemble the base structure using the pipes and fittings. Start with the base legs and build upward to create the lamp's body.
- Attach the lamp socket to the top of the pipe structure securely.
-
Thread the lamp cord through the pipes and connect it to the lamp socket following safety guidelines.
- Test the lamp to ensure it works properly before finalizing the assembly.
Step 1: Gathering Materials
Here is a detailed list of the items you will need:
-
Industrial Pipes: You can typically find industrial pipes at hardware stores or online retailers specializing in industrial supplies.
-
Pipe Fittings: Common pipe fittings used in this project include elbows, tees, connectors, and flanges.
-
Lamp Socket: Lamp sockets are readily available at hardware stores or online retailers specializing in lighting supplies.
-
Lamp Cord: Lamp cords are typically sold at hardware stores or lighting supply shops.
-
Light Bulb: Light bulbs are widely available at hardware stores, home improvement stores, and lighting supplies.
- Base: You can use a pre-made lamp base or create your own using wood, metal, or another sturdy material.
Step 2: Assembling the Base Structure
Here is a detailed guide on how to assemble the base structure of your industrial pipe floor lamp:
-
Lay out all the pipes and fittings that you will be using for the base structure. Take note of the lengths and sizes of the pipes to confirm that you have everything you need for the assembly.
- Begin by creating the legs of the base by connecting the pipes and fittings. You can use elbows and tees to establish a stable and balanced base for your lamp. Verify that the legs are of equal length and securely connected.
-
Once the legs are constructed, start building upwards to form the body of the lamp. Use additional pipes and fittings to connect the legs and create a vertical structure for the lamp. You can experiment with different configurations to achieve the desired height and shape for your lamp.
-
While assembling the body of the lamp, ensure that all connections are tightened securely to prevent wobbling or instability. You can utilize a pipe wrench or adjustable pliers to confirm that the pipes and fittings are firmly attached.
- Consider incorporating decorative elements such as additional pipe segments or fittings to enhance the visual appeal of the lamp. An industrial floor lamp like this not only serves as a functional lighting piece but also adds a touch of industrial charm to any space.
Step 3: Attaching the Lamp Socket
To attach the lamp socket securely to the top of the pipe structure, you will need to follow these steps:
-
Begin by placing the lamp socket on the top of the pipe structure where you want it to be positioned.
- Once you have determined the correct placement, use a marker to mark the holes where you will attach the lamp socket to the pipes.
-
Using a drill and the appropriate size drill bit, carefully drill holes in the marked locations on the pipe structure.
- After drilling the holes, place the lamp socket back on top of the pipe structure and align the holes on the socket with those on the pipes.
- Secure the lamp socket to the pipe structure using screws or bolts that are suitable for attaching metal parts.
- Once the lamp socket is securely attached to the pipe structure, you can proceed to wire the socket according to the manufacturer's instructions.
- Test the lamp socket by inserting a light bulb and turning on the lamp.
Step 4: Connecting the Lamp Cord
Below are the steps you should follow to connect the lamp cord safely and effectively:
Gather your materials and tools
Before you begin, you should gather all the necessary materials and tools on hand. Additionally, you will need wire cutters, wire strippers, electrical tape, and a screwdriver for this step.
Prepare the lamp cord
Start by preparing the lamp cord for connection. If your lamp cord does not come pre-stripped, use wire strippers to remove about half an inch of insulation from the end of the cord.
Thread the lamp cord through the pipes
Carefully thread the lamp cord through the industrial pipes, starting from the base of the lamp and working your way up to the lamp socket.
Connect the lamp cord to the lamp socket
Once the lamp cord is threaded through the pipes, it's time to connect it to the lamp socket.
Insulate the connections
Wrap the tape around each terminal and wire, overlapping it to create a tight seal.
Step 5: Testing the Lamp
Here are the steps to test an industrial pipe floor lamp:
Turn on the Lamp
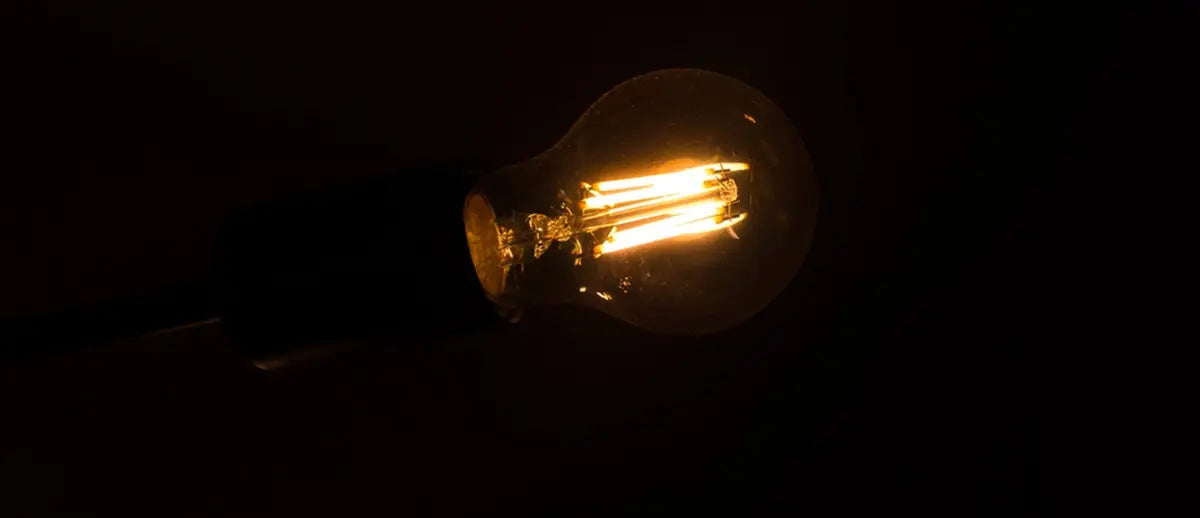
Once the lamp is plugged in, turn on the lamp switch to activate the light bulb. Keep in mind that testing the lamp in a dimly lit room can help you more accurately assess the brightness and quality of the light emitted.
Check the Light Output
Evaluate the light output of the lamp to ensure that it illuminates the desired area effectively. Depending on the type of light bulb you are using, such as LED or incandescent, the brightness and color temperature of the light may vary.
Inspect for Any Flickering
Watch the lamp closely to see if there is any flickering or inconsistency in the light output.
Confirm Stability
While the lamp is turned on, check for any signs of instability or wobbling in the structure.
Evaluate Overall Performance
Take note of the lamp's overall performance, including brightness, stability, and aesthetic appeal.
Before You Leave
Don't forget to share your experiences and tips in the comments section below.
Also Check Out
How to Make a Driftwood Floor Lamp: 6 Easy Steps


Leave a comment
All comments are moderated before being published.
This site is protected by hCaptcha and the hCaptcha Privacy Policy and Terms of Service apply.